How to Program my wireless ProControl™ II?
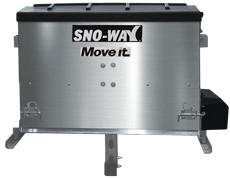
- Ensure vehicle bumper connection is made and vehicle supply voltage is 12VDC. Also verify that the 14 and 4 pin (when present) connectors are connected from the receiver module to the power unit. A red blinking LED indicates the receiver has power and is not communicating with a transmitter.
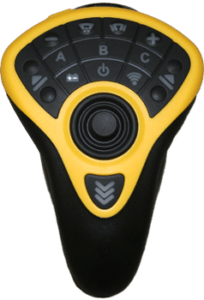
- Turn the ProControl™ II transmitter on and put it into Pairing Mode by pressing and holding the Down Pressure® button or pairing button for at least 5 seconds, but not more than 10 seconds. When the button is released, the backlights will flash continuously, and the transmitter will be in pairing mode. NOTE: Refer to “OPERATION” section for button details.
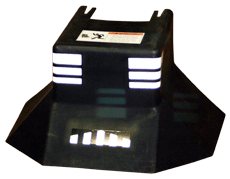
- Place a metal object across the 2 pairing pins on the receiver module. (See Figure 1-1). Remove the object and the LED on the receiver will alternately flash green and red to indicate the receiver is in pairing mode.
- When the receiver and transmitter are paired, the DP light (plow) or salt light (spreader) will flash three times and the LED on the receiver will flash green three times and then flash red. When this happens, push the DP (Down Pressure®) button or pairing button to exit pairing mode. NOTE: If the DP light or salt light on the transmitter does not flash and the LED on the receiver does not flash green three times before going back to flashing red, the pairing attempt has failed. Go back to step 1 and repeat steps.
- After exiting pairing mode, the back lights and DP light or salt light on the transmitter will flash alternately 4 times. Then the DP light or salt light on the transmitter will flash three times and the signal light on the transmitter and LED light on the receiver will change to flashing green. Once this occurs the control is ready to use.